
There is nothing quite like the immense satisfaction of riding a machine that you have assembled with your own two hands. Whether your goal is to construct a sleek, aerodynamic commuter or a rugged custom mountain bike, the journey from a pile of parts to a fully functioning ride is incredibly rewarding.
Before you dive in, you might naturally wonder: what tools do I need to assemble a road bike or put together a custom built mtb? Having the Essential Tools for Building Your Bike is the deciding factor between a smooth, joyful assembly and hours of endless frustration. Let’s explore everything you need to build a bike efficiently, safely, and correctly right in your own garage.
Phase 1: Designing Your Dream Machine
Before you ever pick up a physical wrench, the modern bike making process almost always starts digitally. To create your own mountain bike or road racing machine today, you don't need a sketchbook; you can simply use a bike builder website or a dedicated bike customizer app.
These highly interactive digital platforms act as a virtual mountain bike creator or custom bike creator, allowing you to spec every single component, from the frame geometry to the color of the spoke nipples. Whether you want to make your own bike online, test out wild color schemes on a bike builder simulator, or consult a professional custom mtb builder, visualizing your project is the crucial first step.
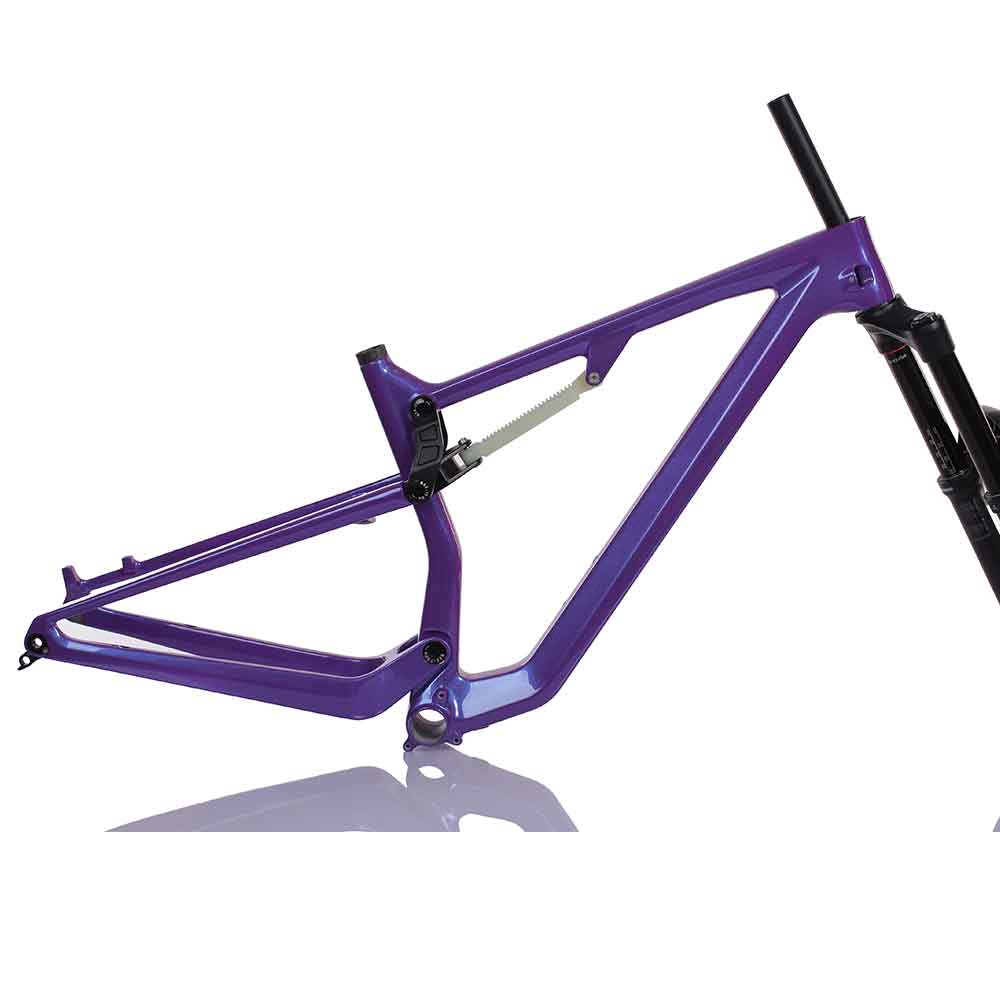
Using a custom mtb bike builder or a specialized custom road bike builder online helps guarantee that all your chosen parts will actually fit together. It’s a brilliant way to build your own bicycle online and finalize your ultimate parts list without spending a dime upfront. Once you create your own bicycle on screen, you'll instantly feel like a master bike designer. After the parts arrive in the mail, it’s time to transition from the digital world to the real world to make a mountain bike or build your own cycle.
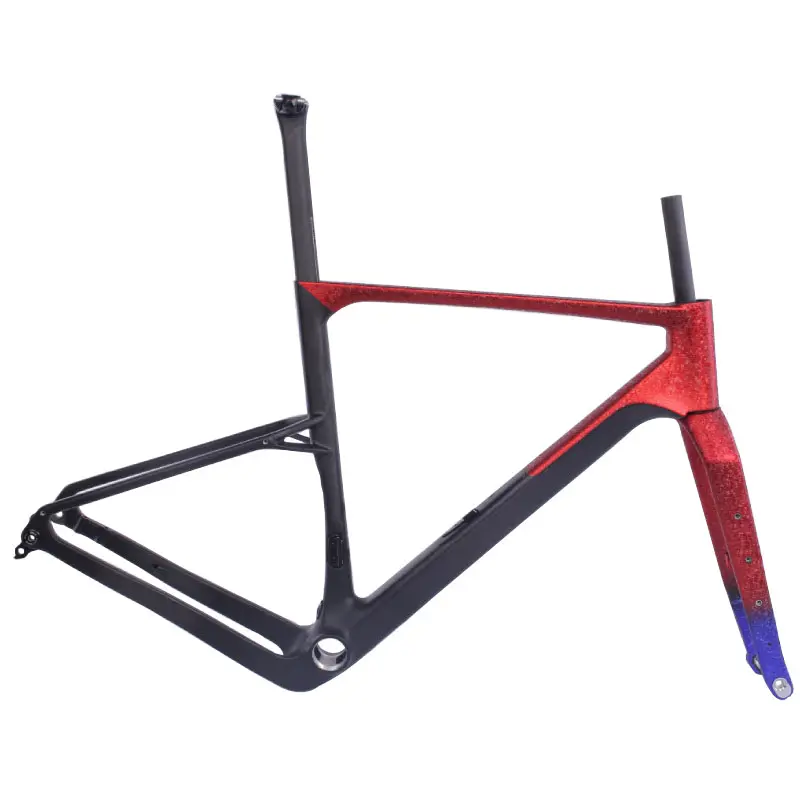
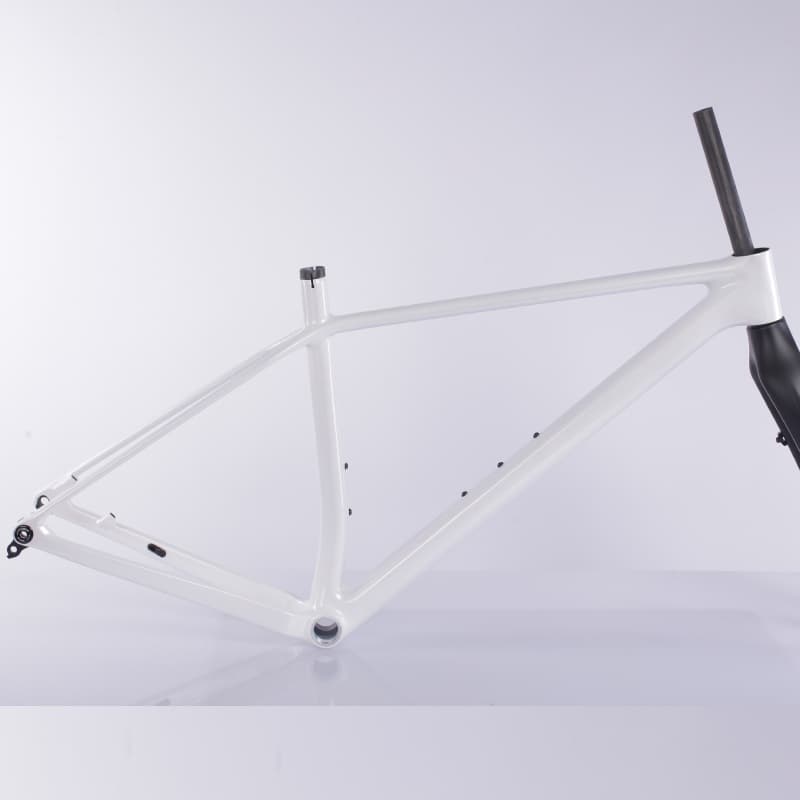
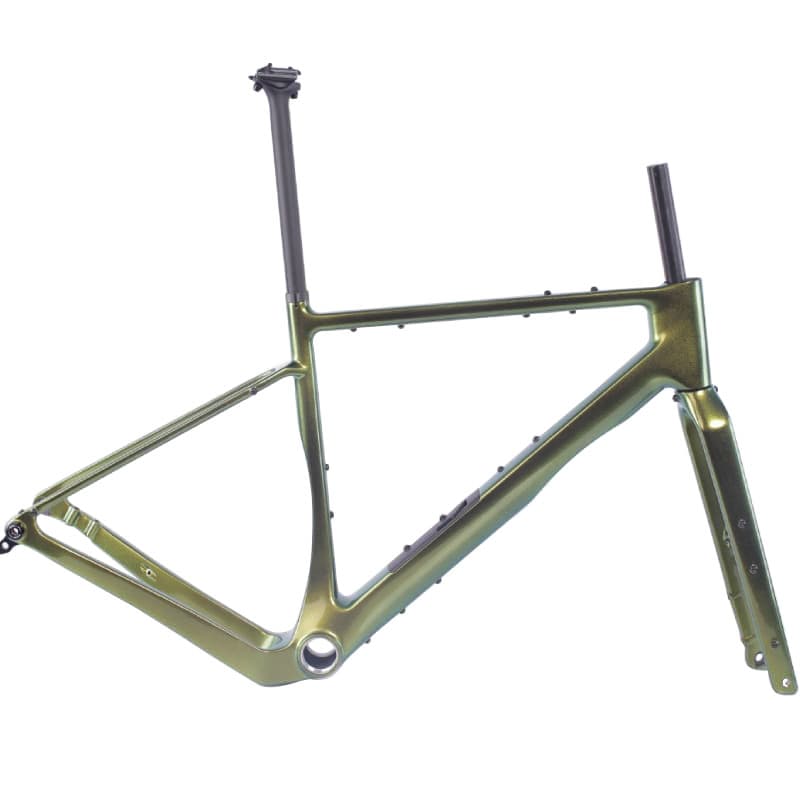
If you’re sourcing lightweight, OEM-ready chassis for your custom build, browse our lineup of premium carbon road bike frames and carbon gravel bike frames with T47 BB and UDH compatibility for seamless part matching.
Phase 2: Setting Up the Perfect Workspace
Setting up a home bike workshop is essential for any aspiring custom bike builder. When professional custom bike builders begin a new project, they know that organization and workspace ergonomics dictate the pace of the build.
- The Repair Stand: Knowing how to choose a bike repair stand will literally save your back. Look for a stand with a highly stable tripod or heavy flat base, and ensure the clamping mechanism is gentle enough not to crush your seat post.
- Small Parts Management: A magnetic parts tray for organized assembly is a lifesaver. It keeps tiny bolts, washers, and delicate bearings from rolling off your workbench while you assemble your custom mtb.
- Tool Sourcing: You will inevitably debate between buying individual tools vs pre-made mechanic kits. For a complete custom build from scratch, starting with Beginner bike maintenance kit essentials gives you a solid foundation. However, you will still need to purchase specialized individual tools as your custom built bikes become more intricate and complex.
Phase 3: The Core Tool Kit
To create your own bike successfully, whether you want to strictly customize bike components or fully customizzare mtb (an Italian term embraced by many global enthusiasts for deep mountain bike customization), you need a reliable set of core hand tools.
- Premium Hex Keys: Investing in premium Allen wrenches is non-negotiable. Preventing stripped bolts with high-quality hex keys will save you from permanently damaging expensive titanium or aluminum hardware. Look for sets with precise, chamfered edges.
- Torque Wrench: A precision torque wrench for carbon frames is an absolute necessity, not a luxury. Over-tightening carbon handlebars or seat posts can lead to catastrophic cracking. All our Toray carbon gravel and road bike frames include full torque spec sheets for safe DIY assembly at home. Always follow the manufacturer's exact Newton-meter (Nm) torque specifications.
- Tire Seating Tools: Don't settle for cheap, flimsy plastic when mounting tires. Ergonomic tire levers for stubborn rims provide the leverage needed to snap tight tubeless mountain bike tires onto the bead without pinching the rim tape.
- Lubrication and Assembly Compounds: Proper assembly requires grease for threads and carbon paste for friction fits. Opting for biodegradable bicycle grease and lubricants keeps your new bike running smoothly and quietly while remaining environmentally conscious.
Phase 4: Drivetrain and Specialized Hardware
When acting as your own custom mountain bike builder or assembling sleek road racers, the drivetrain requires hyper-specific, specialized attention. Standard garage tools simply won't cut it here.
- Bottom Bracket Installation: Installing the rotational heart of your drivetrain can be remarkably tricky. You will need proper bottom bracket press-fit installation tools to ensure the bearing cups seat perfectly straight into the frame, preventing the dreaded bottom bracket creak.
- Cassette Lockring: When locking your rear gears onto the wheel hub, you must verify your cassette lockring tool compatibility. Different drivetrain ecosystems (such as Shimano, SRAM, or Campagnolo) sometimes require specific splined lockring tools.
- Chain Breaker: Sizing your new chain requires exacting precision. Using a chain breaker tool correctly ensures you push the connecting pin out just enough to break the chain without bending or damaging the outer link plates.
- Pedal Installation and Removal: If you are migrating parts from an older frame to your new custom mtb bikes, you might encounter heavily seized pedal threads. While having a dedicated pedal wrench is best, knowing the tricks for removing stuck pedals without specialized equipment (such as utilizing mechanical leverage, applying penetrating fluid, or using heat for thermal expansion) is a highly useful skill to keep in your back pocket.
Phase 5: Selecting Your Tool Brands
As you gather the necessary gear to build your own mountain bike, the inevitable question of brand loyalty will arise. The long-standing debate of Park Tool vs Pedro's bike tools is a common topic in the cycling community. Park Tool offers iconic blue-handled reliability and an exhaustive catalog that covers every conceivable niche bike part. Conversely, Pedro’s is widely praised by mechanics for its exceptional ergonomics, brilliant yellow aesthetics, and incredibly durable wrenches. Ultimately, both are top-tier choices that will serve you well for a lifetime of wrenching.
Conclusion
Building a bicycle from the bare frame up is an incredible, empowering experience. From those initial dreaming stages of clicking through an online mtb builder app to methodically torquing the final stem bolt, assembling your own ride gives you intimate, invaluable knowledge of exactly how your machine operates.
Armed with patience, mechanical curiosity, and these essential tools, you are fully equipped for the task. You no longer have to rely solely on the local bike shop; you have the power to create a masterpiece. Armed with patience, mechanical curiosity, and these essential tools, you are fully equipped for the task. You no longer have to rely solely on the local bike shop; you have the power to create a masterpiece.
Whether you’re building a fast road racer or all-terrain gravel adventure rig, start your custom project with high-performance carbon road bike frames and carbon gravel bike frames available for OEM custom geometry and paint orders. Grab your torque wrench, apply a dab of grease, and get ready to hit the trails or the tarmac on a beautiful machine you proudly built yourself.