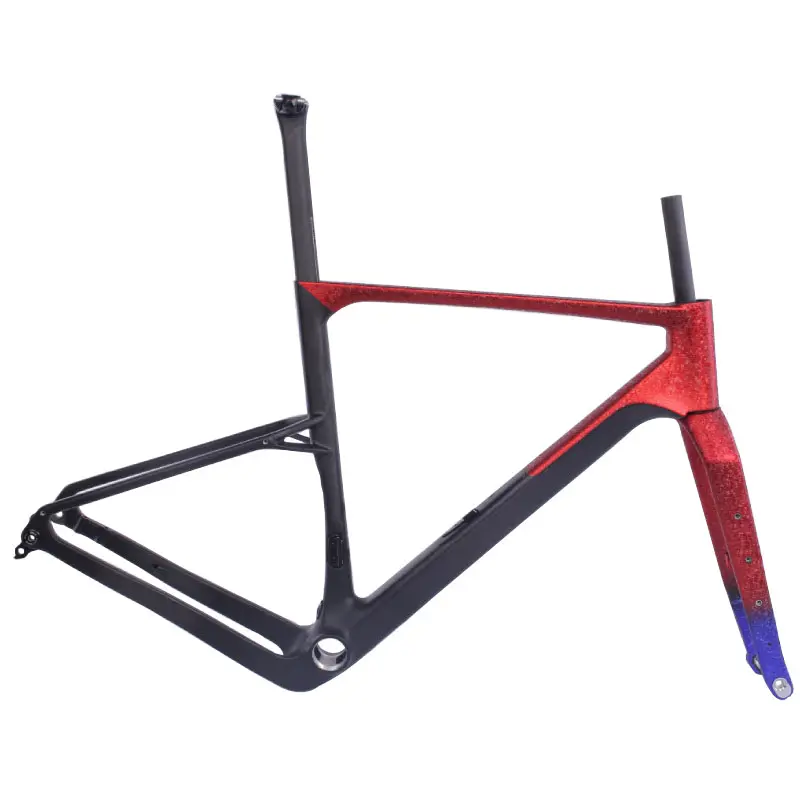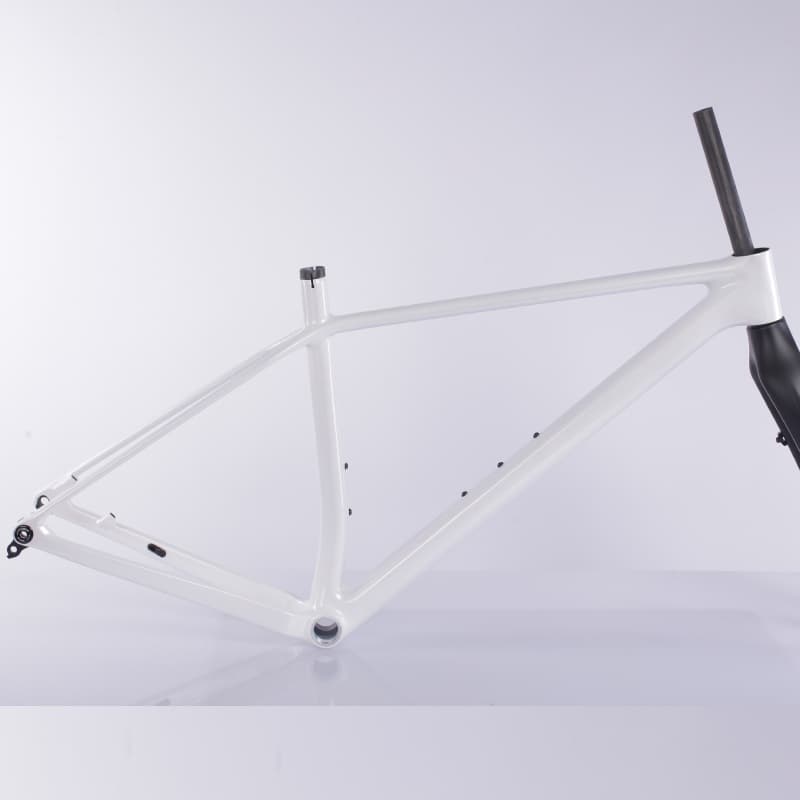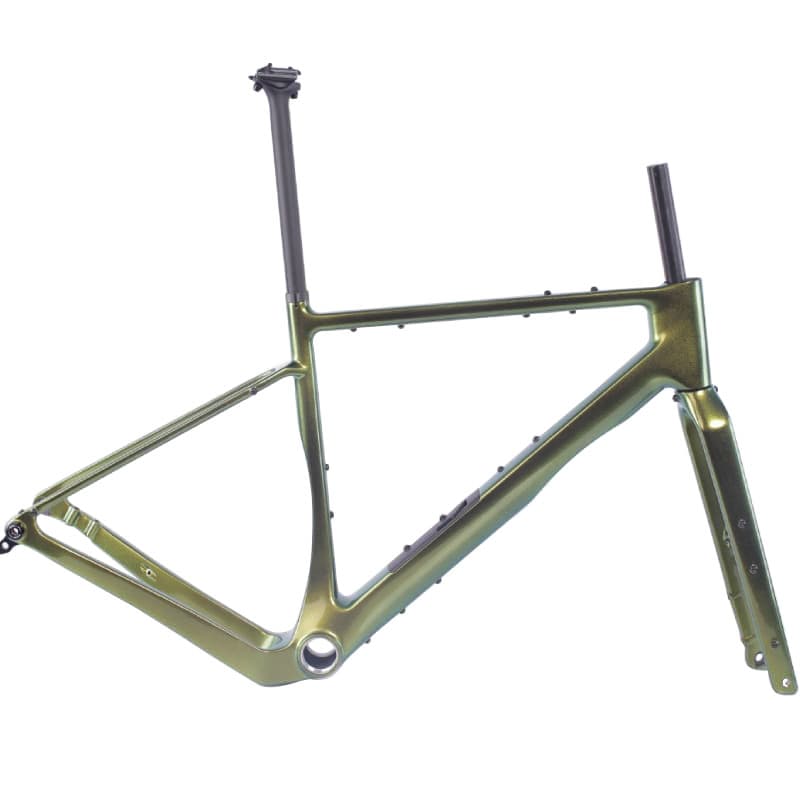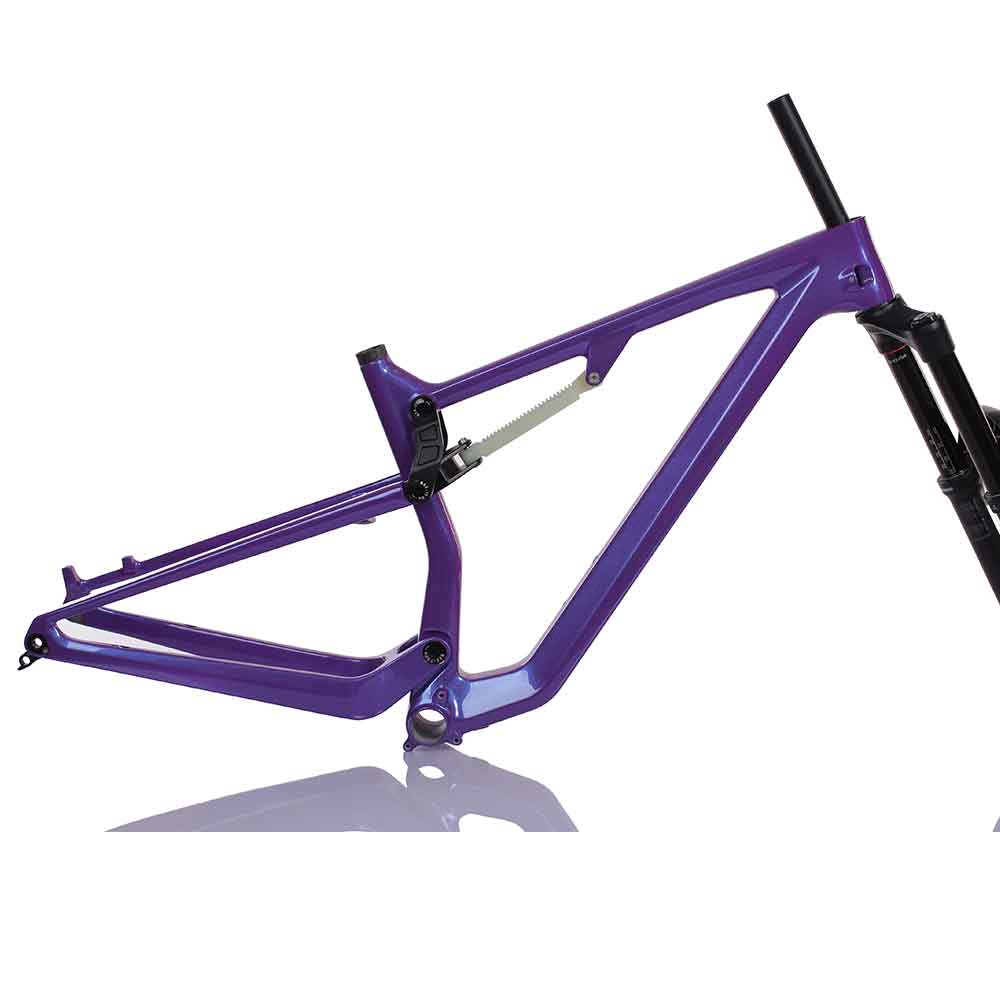

Whether you unbox a pre-built bicycle, source separate components, or design your rig via an online bike builder tool, proper assembly determines ride quality, brake safety and long-term durability. This step-by-step tutorial covers DIY mountain and gravel bike builds alike. If you’re piecing together a custom all-terrain gravel rig or a full-suspension MTB from scratch, follow these orderly steps for a flawless home build.
Before You Start
Bike assembly goes much smoother with a tidy, well-lit workspace that prevents tiny bolts and spacers from rolling away. A bike repair stand is highly recommended for ergonomic work, though you can complete the build without one.
Tools You May Need
Gather all essential gear before laying out your components:
- Metric hex / Allen wrenches
- Precision torque wrench (critical for carbon frames)
- 15mm pedal wrench
- Tire pressure gauge pump
- Thread grease & carbon assembly paste
- Cable cutters
- Suspension shock pump (for MTB only)
- Microfiber cleaning cloths
- Bike chain lubricant
If you mapped out your build using a bike customizer or gravel/mtb builder simulator, double-check every component’s compatibility first. Frame, fork, wheels, drivetrain and brake specs must match to avoid fit issues down the line. For seamless DIY gravel builds, our lineup of carbon gravel bike frames uses universal T47 BB and UDH hanger standards that work with all mainstream gravel groupsets.
Step 1: Unbox and Inspect Every Part
Carefully cut packaging to avoid scratching paint, slicing brake hoses or damaging cables. Lay all frame, wheel and hardware parts flat for a full visual inspection.
Check for these common factory defects:
- Frame/fork cracks, dents or chipped paint
- Bent brake rotors
- Cracked or misaligned derailleur hangers
- Missing axles, bolts and instruction manuals
- Warped wheel spokes
If any component arrives damaged, pause assembly and reach out to your frame supplier before installation.
Step 2: Install the Seatpost and Saddle
Coat aluminum seatposts with standard grease; apply dedicated carbon paste if fitting a carbon seat tube to prevent slipping. Slide the post past the minimum insertion mark printed on the frame.
Mount and center your saddle, leaving it level for initial setup—you can tweak tilt after a test ride.
Tighten seatpost and saddle clamp bolts strictly to manufacturer torque values. Over-tightening will crack lightweight carbon frames. Every Toray carbon gravel bike frame we supply includes official torque charts to eliminate assembly errors for DIY builders.
Step 3: Fit the Handlebar and Stem
Most factory frames ship with bars rotated sideways or detached. Straighten the fork and front wheel, then align the stem perfectly with the tire centerline.
Mount the handlebar to the stem faceplate, tightening bolts evenly in a cross pattern to balance gaps. Do not crank one bolt fully before the rest.
Angle brake and shift levers for neutral wrist positioning: MTB riders often tilt levers slightly down for standing climbs, while gravel cyclists prefer a neutral setup for long-distance comfort.
Step 4: Install the Front Wheel
Slot the wheel into fork dropouts. For thru-axle designs, thread and torque the axle to spec; quick-release models need firm closure that leaves a palm indent.
Slide brake rotors gently between caliper pads—never squeeze brake levers with wheels removed, as pads will lock together.
Spin the wheel to confirm free rotation with zero persistent rotor rub.
Step 5: Install the Pedals Correctly
Pedals feature opposite threading: right pedal = clockwise tighten, left pedal = counterclockwise tighten.
Lightly grease pedal threads, hand-thread both sides first to avoid cross-threading, then torque down with your wrench. Cross-threaded crank arms are one of the most costly DIY assembly mistakes for gravel and MTB builds.
Step 6: Adjust & Test Brakes
Your braking system is your bike’s most vital safety component. Pull each lever and confirm firm stopping power before the lever hits the handlebar.
For disc brake alignment:
- Loosen caliper mounting bolts slightly
- Hold brake lever fully squeezed
- Evenly retighten caliper bolts
- Release lever and spin wheels to check rub
Minor rotor noise will fade after bedding-in; persistent scraping requires readjustment. Spongy brake feel means you need professional hydraulic service.
Step 7: Tune Drivetrain Shifting
Crank the pedals by hand and cycle through all gears. The chain should shift cleanly without skipping, grinding or dropping off cogs.
Fine-tune tension via barrel adjusters only; leave limit screws untouched unless you fully understand derailleur geometry. Wide-range gravel 1x drivetrains rely on precise hanger alignment, a key advantage of our UDH-equipped carbon gravel frames.
Step 8: Inflate Tires to Spec Pressure
Check tire sidewalls for recommended PSI range. Gravel bikes run lower pressure for off-road cushion; road builds use higher PSI, while full-suspension MTBs tune pressure for trail traction.
After inflating, verify the tire bead sits flush all around the rim with no bulges or recesses.
Step 9: Set Suspension (MTB Only)
Skip this section for gravel and rigid road builds. For mountain bikes, use a shock pump to set air sag matching your body weight. Balance rebound speed to avoid overly bouncy or sluggish trail performance.
Step 10: Torque All Critical Bolts
Never skip torque checks for lightweight carbon components. Key fasteners to measure:
- Stem & steerer bolts
- Seatpost / saddle clamps
- Brake caliper & rotor bolts
- Crank & thru-axle hardware
- Bottle cage mounts
Improper torque is the top cause of cracked carbon frames during home assembly.
Step 11: Fine-Tune Riding Fit
Adjust saddle height first: slight knee bend at full pedal drop. Tweak saddle fore-aft and bar reach to eliminate wrist/back fatigue on long gravel bikepacking trips. Even if you locked geometry in your online bike designer, small fit tweaks drastically improve comfort.
Step 12: Full Pre-Ride Safety Inspection
Complete this checklist before your first rollout:
✅ Wheels locked securely
✅ Brakes deliver reliable stopping power
✅ Stem & saddle cannot shift under load
✅ Pedals fully threaded
✅ Tires seated & properly inflated
✅ Chain routes without contact
✅ No loose rattling parts
Lift the bike 2–3 inches and bounce it lightly to spot hidden loose hardware.
Step 13: Short Test Ride
Take a slow, nearby test loop to verify brakes and shifting. Stop halfway to re-torque axles, stem and saddle—new cables and hardware will settle after initial use, requiring a second pass.
When to Seek Professional Mechanic Support
Tackle basic assembly at home, but book a shop service if you face hydraulic brake leaks, stripped threads, misaligned hangers or carbon component torque uncertainty. Complex builds mixing multiple aftermarket parts (custom gravel bikepacking rigs, full suspension MTBs) are also worth professional finishing touches.
Final Build Tips
Always verify frame standards before purchasing components: tire clearance, BB type, axle spacing and mount points make or break your DIY project. If you’re planning a long-distance bikepacking or gravel racing build, kickstart your project with fully customizable carbon gravel bike frames built for mixed pavement, dirt and singletrack terrain. Take your time, follow torque specs, and inspect every system before your first long adventure ride.