
Bike tire pressure directly affects your speed, comfort, traction, and safety. Too high, and the ride feels harsh with reduced grip. Too low, and you risk pinch flats and sluggish handling. This guide provides complete PSI charts for road, mountain, and gravel bikes, plus step‑by‑step adjustment tips.
🚴 Quick Tire Pressure Tips
✅ Check before every ride – PSI changes with temperature and time. Always measure when tires are cold.
✅ Use a quality gauge – Don’t rely on squeezing; digital or dial gauges are accurate.
✅ Adjust by terrain – Lower PSI for rough/loose surfaces, higher PSI for smooth pavement.
✅ Rear tire needs +2–5 PSI – Most of your weight is over the rear wheel.
✅ Respect hookless rim limits – If your rims are hookless, never exceed 72.5 PSI / 5 BAR.
✅ Check tire sidewall – Every tire has a manufacturer’s recommended PSI range. Stay within it.
Why Tire Pressure Matters – PSI Explained
PSI (Pounds per Square Inch) measures the air pressure inside your tires. Getting it right is the single most impactful free upgrade you can make to your bike.
- Speed & rolling resistance – Too low creates drag; too high (beyond optimal) can actually increase rolling resistance on rough roads due to vibration energy loss.
- Comfort & vibration damping – Proper PSI lets the tire absorb road chatter, reducing hand and back fatigue.
- Traction & cornering grip – Lower pressure increases the tire’s contact patch, improving grip on wet or loose surfaces.
- Puncture protection – Under‑inflation causes pinch flats; over‑inflation makes tires vulnerable to sharp impacts.
1 BAR ≈ 14.5 PSI. For quick mental conversion: divide PSI by 14.5 or multiply BAR by 14.5.
Road Bike Tire Pressure Chart
Road bikes (typically 23–32mm tires) require the highest PSI to minimize rolling resistance on pavement, but modern wider tires run significantly lower pressures than older 23mm setups.
| Rider Weight | 25mm Tires | 28mm Tires | 30mm Tires | 32mm Tires |
|---|---|---|---|---|
| ≤ 60 kg / ≤ 132 lb | 95–100 PSI | 85–90 PSI | 75–80 PSI | 70–75 PSI |
| 60–70 kg / 132–154 lb | 100–105 PSI | 90–95 PSI | 80–85 PSI | 75–80 PSI |
| 70–80 kg / 154–176 lb | 105–110 PSI | 95–100 PSI | 85–90 PSI | 80–85 PSI |
| 80–90 kg / 176–198 lb | 110–115 PSI | 100–105 PSI | 90–95 PSI | 85–90 PSI |
| 90–100 kg / 198–220 lb | 115–120 PSI | 105–110 PSI | 95–100 PSI | 90–95 PSI |
| ≥ 100 kg / ≥ 220 lb | 120–130 PSI | 110–120 PSI | 100–110 PSI | 95–105 PSI |
Note: Pressures assume inner tubes and hooked rims. For tubeless, reduce by 5–10 PSI. For hookless rims, never exceed 72.5 PSI / 5 BAR.
Road Conditions & Pressure Adjustment
- Smooth pavement, race day – Use the higher end of the recommended range for maximum speed.
- Rough/broken asphalt – Drop 5–10 PSI from your usual pressure. Lower pressure actually reduces rolling resistance on rough roads by absorbing vibrations.
- Wet/rainy conditions – Reduce by 5–10 PSI to increase the contact patch for better grip.
- Heavy load (bikepacking, touring) – Add 5–10 PSI to support extra weight.
Mountain Bike Tire Pressure Chart
MTB tire pressure varies significantly by tire width, terrain, and whether you run tubeless. Lower pressure provides better traction on loose terrain but increases pinch flat risk on tubes.
| Rider Weight | 2.0–2.2" Tires (Tube) | 2.0–2.2" Tires (Tubeless) | 2.3–2.5" Tires (Tube) | 2.3–2.5" Tires (Tubeless) |
|---|---|---|---|---|
| ≤ 60 kg / ≤ 132 lb | 28–32 PSI | 22–26 PSI | 24–28 PSI | 18–22 PSI |
| 60–75 kg / 132–165 lb | 30–34 PSI | 24–28 PSI | 26–30 PSI | 20–24 PSI |
| 75–90 kg / 165–198 lb | 32–36 PSI | 26–30 PSI | 28–32 PSI | 22–26 PSI |
| 90–105 kg / 198–231 lb | 34–38 PSI | 28–32 PSI | 30–34 PSI | 24–28 PSI |
| ≥ 105 kg / ≥ 231 lb | 36–40 PSI | 30–35 PSI | 32–36 PSI | 26–30 PSI |
MTB Terrain Adjustments
- Cross‑Country (XC) racing, smooth trails – Use higher end of the range for lower rolling resistance.
- Trail riding, mixed terrain – Middle of the range offers good balance between grip and efficiency.
- Enduro, rocky/rooty descents – Drop 2–5 PSI (especially front tire) for better traction and shock absorption.
- Loose gravel, sand, wet mud – Reduce PSI by 3–5 PSI. The tire should “wrap” slightly around obstacles.
Gravel Bike Tire Pressure Chart
Gravel biking demands tire pressure that balances efficiency on pavement with grip on loose surfaces. The chart below provides starting points based on tire width.
| Tire Width | Typical PSI Range | Best Use |
|---|---|---|
| 32–35mm | 45–55 PSI | All‑road riding, smooth gravel, mixed pavement |
| 36–40mm | 35–45 PSI | Light gravel, commuting, endurance rides |
| 41–45mm | 30–40 PSI | General gravel riding, mixed terrain |
| 46–50mm | 25–38 PSI | Rough gravel, bikepacking, long‑distance |
| ≥ 50mm | 20–33 PSI | Very rough gravel, off‑road routes, maximum comfort |
Gravel Pressure Fine‑Tuning
- More asphalt than gravel – Bump pressure up by 5 PSI for better rolling efficiency.
- Chunky/loose gravel, singletrack – Drop 3–5 PSI (stay above 25 PSI to avoid rim strikes).
- Tubeless setup – Run 5–10 PSI lower than tube recommendations, with better puncture resistance and traction.
- Bikepacking with gear – Add 2–5 PSI to accommodate extra load.
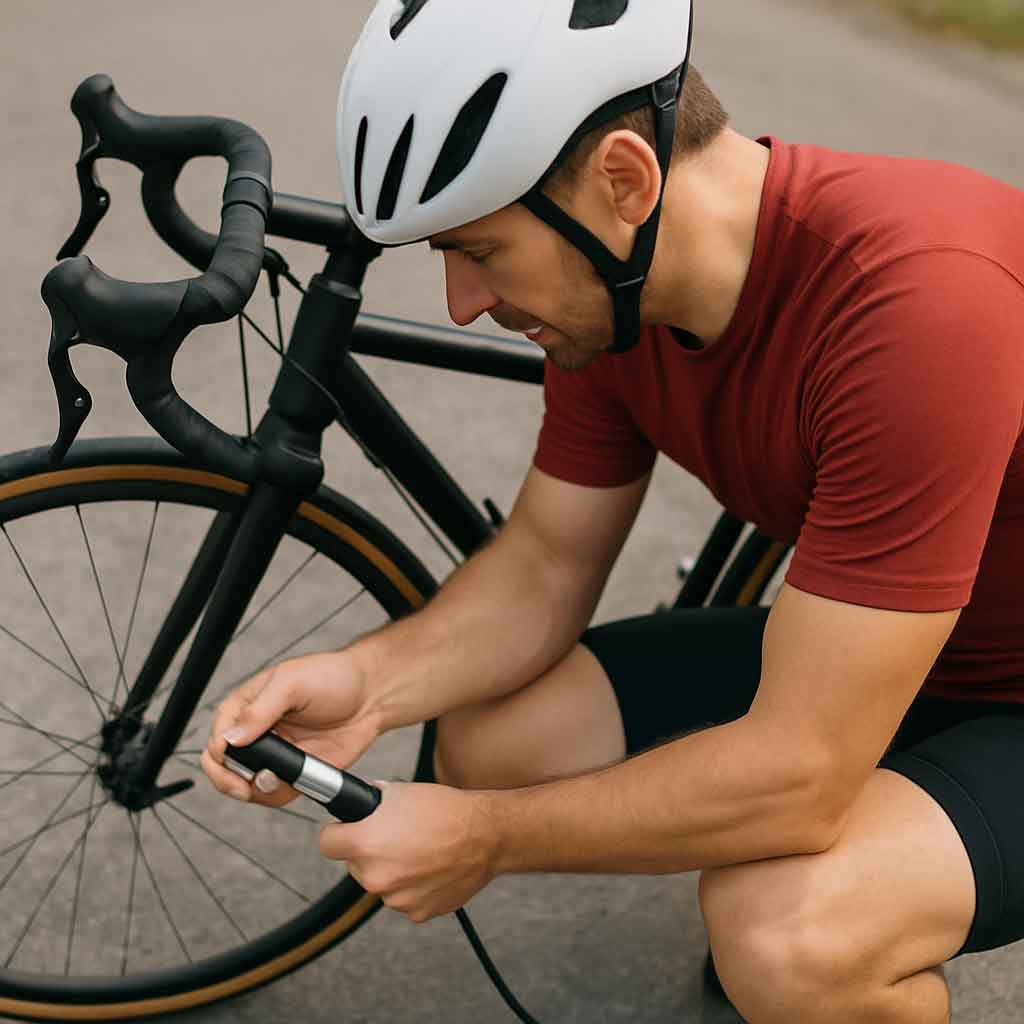
How to Check and Adjust Tire Pressure
Accurate measurement is crucial for optimal performance. Here’s how to do it right:
- Check when tires are cold – Pressure increases as tires heat up. Always measure before riding.
- Use a reliable gauge – A floor pump with a built‑in gauge or a separate digital gauge is essential. Avoid guessing by squeezing.
- Know your tire width – Width is printed on the tire sidewall (e.g., “700×28c” or “29×2.3”).
- Remove valve cap – Press the gauge firmly onto the valve stem to get a reading.
- Inflate or deflate as needed – Use a pump to add air; press the valve pin to release air. Recheck after each adjustment.
- Check both tires – Many riders run the rear tire 2–5 PSI higher because it carries more weight.
Hybrid & Commuter Bike Tire Pressure
Hybrid bikes (typically 32–42mm tires) combine features of road and mountain bikes. Recommended PSI ranges between 50 and 70 PSI.
- Lighter riders (≤ 70 kg / ≤ 154 lb): 50–60 PSI
- Average riders (70–85 kg / 154–187 lb): 55–65 PSI
- Heavier riders (≥ 85 kg / ≥ 187 lb): 60–70 PSI
- For cargo or panniers: Add 5–10 PSI.
Frequently Asked Questions About Tire Pressure
What PSI should my bike tires be?
Can I use the same pressure for front and rear tires?
How often should I check tire pressure?
Does tire pressure change with temperature?
What about hookless rims?
Choosing the Right Bicycle Tires for Your Bike Type
Using properly inflated tires is important, but using the right type of tire for your riding style makes an even bigger difference. Different bikes and terrains call for different tread patterns, compounds, and puncture protection levels.
👉 Visit our product catalog to explore carbon frames that pair perfectly with the right tire setup for road, gravel, MTB, or e‑bike applications. If you ride on mixed surfaces, consider a second wheelset with dedicated tires—many cyclists swap between road and gravel wheels in minutes.
Final Thoughts
Tire pressure is the most cost‑effective performance upgrade you can make. Experiment within safe ranges, take notes on what feels best, and adjust for each ride based on terrain and conditions. Start with the charts above, then fine‑tune by 2–3 PSI increments until you find your personal sweet spot between speed, comfort, and grip.
